
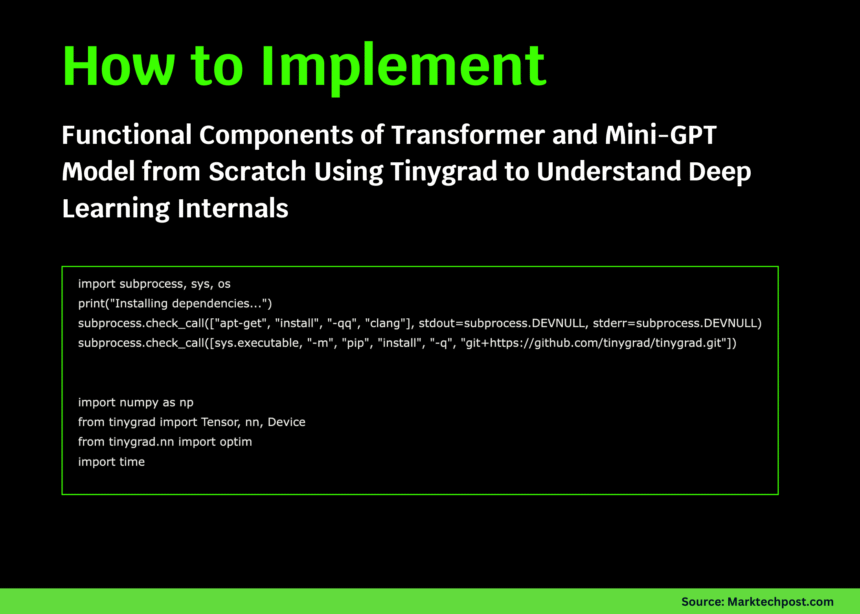
In this tutorial, we explore how to build neural networks from scratch using Tinygrad while remaining fully hands-on with tensors, autograd, attention mechanisms, and transformer architectures. We progressively build every component ourselves, from basic tensor operations to multi-head attention, transformer blocks, and, finally, a working mini-GPT model. Through each stage, we observe how Tinygrad’s simplicity helps us understand what happens under the hood when models train, optimize, and fuse kernels for performance. Check out the FULL CODES here.
import subprocess, sys, os
print("Installing dependencies...")
subprocess.check_call(["apt-get", "install", "-qq", "clang"], stdout=subprocess.DEVNULL, stderr=subprocess.DEVNULL)
subprocess.check_call([sys.executable, "-m", "pip", "install", "-q", "git+https://github.com/tinygrad/tinygrad.git"])


import numpy as np
from tinygrad import Tensor, nn, Device
from tinygrad.nn import optim
import time


print(f"🚀 Using device: {Device.DEFAULT}")
print("=" * 60)


print("\n📚 PART 1: Tensor Operations & Autograd")
print("-" * 60)


x = Tensor([[1.0, 2.0], [3.0, 4.0]], requires_grad=True)
y = Tensor([[2.0, 0.0], [1.0, 2.0]], requires_grad=True)


z = (x @ y).sum() + (x ** 2).mean()
z.backward()


print(f"x:\n{x.numpy()}")
print(f"y:\n{y.numpy()}")
print(f"z (scalar): {z.numpy()}")
print(f"∂z/∂x:\n{x.grad.numpy()}")
print(f"∂z/∂y:\n{y.grad.numpy()}")
We set up Tinygrad in our Colab environment and immediately begin experimenting with tensors and automatic differentiation. We create a small computation graph and observe how gradients flow through matrix operations. As we print the outputs, we gain an intuitive understanding of how Tinygrad handles backpropagation under the hood. Check out the FULL CODES here.
print("\n\n🧠 PART 2: Building Custom Layers")
print("-" * 60)


class MultiHeadAttention:
   def __init__(self, dim, num_heads):
       self.num_heads = num_heads
       self.dim = dim
       self.head_dim = dim // num_heads
       self.qkv = Tensor.glorot_uniform(dim, 3 * dim)
       self.out = Tensor.glorot_uniform(dim, dim)

   def __call__(self, x):
       B, T, C = x.shape[0], x.shape[1], x.shape[2]
       qkv = x.reshape(B * T, C).dot(self.qkv).reshape(B, T, 3, self.num_heads, self.head_dim)
       q, k, v = qkv[:, :, 0], qkv[:, :, 1], qkv[:, :, 2]
       scale = (self.head_dim ** -0.5)
       attn = (q @ k.transpose(-2, -1)) * scale
       attn = attn.softmax(axis=-1)
       out = (attn @ v).transpose(1, 2).reshape(B, T, C)
       return out.reshape(B * T, C).dot(self.out).reshape(B, T, C)


class TransformerBlock:
   def __init__(self, dim, num_heads):
       self.attn = MultiHeadAttention(dim, num_heads)
       self.ff1 = Tensor.glorot_uniform(dim, 4 * dim)
       self.ff2 = Tensor.glorot_uniform(4 * dim, dim)
       self.ln1_w = Tensor.ones(dim)
       self.ln2_w = Tensor.ones(dim)

   def __call__(self, x):
       x = x + self.attn(self._layernorm(x, self.ln1_w))
       ff = x.reshape(-1, x.shape[-1])
       ff = ff.dot(self.ff1).gelu().dot(self.ff2)
       x = x + ff.reshape(x.shape)
       return self._layernorm(x, self.ln2_w)

   def _layernorm(self, x, w):
       mean = x.mean(axis=-1, keepdim=True)
       var = ((x - mean) ** 2).mean(axis=-1, keepdim=True)
       return w * (x - mean) / (var + 1e-5).sqrt()
We design our own multi-head attention module and a transformer block entirely from scratch. We implement the projections, attention scores, softmax, feedforward layers, and layer normalization manually. As we run this code, we see how each component contributes to a transformer layer’s overall behavior. Check out the FULL CODES here.
print("\n🤖 PART 3: Mini-GPT Architecture")
print("-" * 60)


class MiniGPT:
   def __init__(self, vocab_size=256, dim=128, num_heads=4, num_layers=2, max_len=32):
       self.vocab_size = vocab_size
       self.dim = dim
       self.tok_emb = Tensor.glorot_uniform(vocab_size, dim)
       self.pos_emb = Tensor.glorot_uniform(max_len, dim)
       self.blocks = [TransformerBlock(dim, num_heads) for _ in range(num_layers)]
       self.ln_f = Tensor.ones(dim)
       self.head = Tensor.glorot_uniform(dim, vocab_size)

   def __call__(self, idx):
       B, T = idx.shape[0], idx.shape[1]
       tok_emb = self.tok_emb[idx.flatten()].reshape(B, T, self.dim)
       pos_emb = self.pos_emb[:T].reshape(1, T, self.dim)
       x = tok_emb + pos_emb
       for block in self.blocks:
           x = block(x)
       mean = x.mean(axis=-1, keepdim=True)
       var = ((x - mean) ** 2).mean(axis=-1, keepdim=True)
       x = self.ln_f * (x - mean) / (var + 1e-5).sqrt()
       return x.reshape(B * T, self.dim).dot(self.head).reshape(B, T, self.vocab_size)

   def get_params(self):
       params = [self.tok_emb, self.pos_emb, self.ln_f, self.head]
       for block in self.blocks:
           params.extend([block.attn.qkv, block.attn.out, block.ff1, block.ff2, block.ln1_w, block.ln2_w])
       return params


model = MiniGPT(vocab_size=256, dim=64, num_heads=4, num_layers=2, max_len=16)
params = model.get_params()
total_params = sum(p.numel() for p in params)
print(f"Model initialized with {total_params:,} parameters")
We assemble the full MiniGPT architecture using the components built earlier. We embed tokens, add positional information, stack multiple transformer blocks, and project the final outputs back to vocab logits. As we initialize the model, we begin to appreciate how a compact transformer can be built with surprisingly few moving parts. Check out the FULL CODES here.
print("\n\n🏋️ PART 4: Training Loop")
print("-" * 60)


def gen_data(batch_size, seq_len):
   x = np.random.randint(0, 256, (batch_size, seq_len))
   y = np.roll(x, 1, axis=1)
   y[:, 0] = x[:, 0]
   return Tensor(x, dtype="int32"), Tensor(y, dtype="int32")


optimizer = optim.Adam(params, lr=0.001)
losses = []


print("Training to predict previous token in sequence...")
with Tensor.train():
   for step in range(20):
       start = time.time()
       x_batch, y_batch = gen_data(batch_size=16, seq_len=16)
       logits = model(x_batch)
       B, T, V = logits.shape[0], logits.shape[1], logits.shape[2]
       loss = logits.reshape(B * T, V).sparse_categorical_crossentropy(y_batch.reshape(B * T))
       optimizer.zero_grad()
       loss.backward()
       optimizer.step()
       losses.append(loss.numpy())
       elapsed = time.time() - start
       if step % 5 == 0:
           print(f"Step {step:3d} | Loss: {loss.numpy():.4f} | Time: {elapsed*1000:.1f}ms")


print("\n\n⚡ PART 5: Lazy Evaluation & Kernel Fusion")
print("-" * 60)


N = 512
a = Tensor.randn(N, N)
b = Tensor.randn(N, N)


print("Creating computation: (A @ B.T + A).sum()")
lazy_result = (a @ b.T + a).sum()
print("→ No computation done yet (lazy evaluation)")


print("\nCalling .realize() to execute...")
start = time.time()
realized = lazy_result.realize()
elapsed = time.time() - start


print(f"✓ Computed in {elapsed*1000:.2f}ms")
print(f"Result: {realized.numpy():.4f}")
print("\nNote: Operations were fused into optimized kernels!")
We train the MiniGPT model on simple synthetic data and observe the loss decreasing across steps. We also explore Tinygrad’s lazy execution model by creating a fused kernel that executes only when it is realized. As we monitor timings, we understand how kernel fusion improves performance. Check out the FULL CODES here.
print("\n\n🔧 PART 6: Custom Operations")
print("-" * 60)


def custom_activation(x):
   return x * x.sigmoid()


x = Tensor([[-2.0, -1.0, 0.0, 1.0, 2.0]], requires_grad=True)
y = custom_activation(x)
loss = y.sum()
loss.backward()


print(f"Input:    {x.numpy()}")
print(f"Swish(x): {y.numpy()}")
print(f"Gradient: {x.grad.numpy()}")


print("\n\n" + "=" * 60)
print("✅ Tutorial Complete!")
print("=" * 60)
print("""
Key Concepts Covered:
1. Tensor operations with automatic differentiation
2. Custom neural network layers (Attention, Transformer)
3. Building a mini-GPT language model from scratch
4. Training loop with Adam optimizer
5. Lazy evaluation and kernel fusion
6. Custom activation functions
""")
We implement a custom activation function and verify that gradients propagate correctly through it. We then print a summary of all major concepts covered in the tutorial. As we finish, we reflect on how each section builds our ability to understand, modify, and extend deep learning internals using Tinygrad.
In conclusion, we reinforce our understanding of how neural networks truly operate beneath modern abstractions, and we experience firsthand how Tinygrad empowers us to tinker with every internal detail. We have built a transformer, trained it on synthetic data, experimented with lazy evaluation and kernel fusion, and even created custom operations, all within a minimal, transparent framework. At last, we recognize how this workflow prepares us for deeper experimentation, whether we extend the model, integrate real datasets, or continue exploring Tinygrad’s low-level capabilities.
Check out the FULL CODES here. Feel free to check out our GitHub Page for Tutorials, Codes and Notebooks. Also, feel free to follow us on Twitter and don’t forget to join our 100k+ ML SubReddit and Subscribe to our Newsletter. Wait! are you on telegram? now you can join us on telegram as well.
Asif Razzaq is the CEO of Marktechpost Media Inc.. As a visionary entrepreneur and engineer, Asif is committed to harnessing the potential of Artificial Intelligence for social good. His most recent endeavor is the launch of an Artificial Intelligence Media Platform, Marktechpost, which stands out for its in-depth coverage of machine learning and deep learning news that is both technically sound and easily understandable by a wide audience. The platform boasts of over 2 million monthly views, illustrating its popularity among audiences.